前一段时间在“感性认识JWT”一博文中分享了,很火的开源项目Cloud-Admin中鉴权中心和网关的实现。今天再来看看其他各个部分源码
提示
老规矩,放开源项目地址:https://gitee.com/minull/ace-security
目录结构
架构
下面是官方提供的架构模型。

项目的运行步骤
- 先启动rabbitmq、redis、mysql以及consul注册中心
- 运行数据库脚本:依次运行数据库:ace-admin/db/init.sql、ace-auth-server/db/init.sql、ace-trace
- 修改配置数据库配置:ace-admin/src/main/resources/application.yml、ace-gate/src/main/resources/application.yml
- 按
顺序运行main类:CenterBootstrap(ace-center)、AuthBootstrap(ace-auth-server)、AdminBootstrap(ace-admin)、GatewayServerBootstrap(ace-gateway-v2)
Admin模块
数据库设计
先看看数据库设计,admin模块负责所有权限的管理。第一张表base_element,定义了各个资源的code,类型,uri,每一个特定资源对应一种请求路径,如图👇

第二张,base_group定义了角色和请求路径的关系。👇

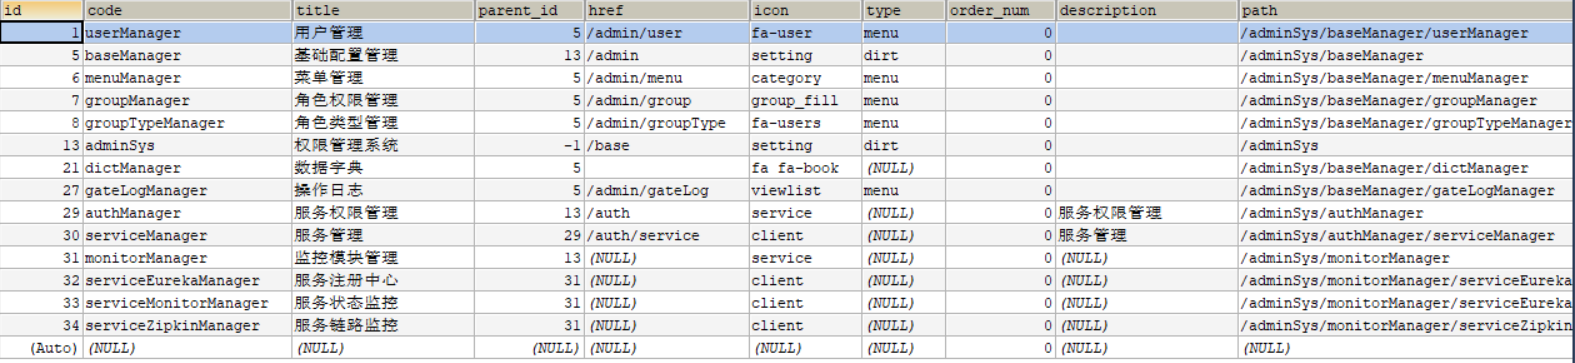
第三张,base_group_type定义了类型👇

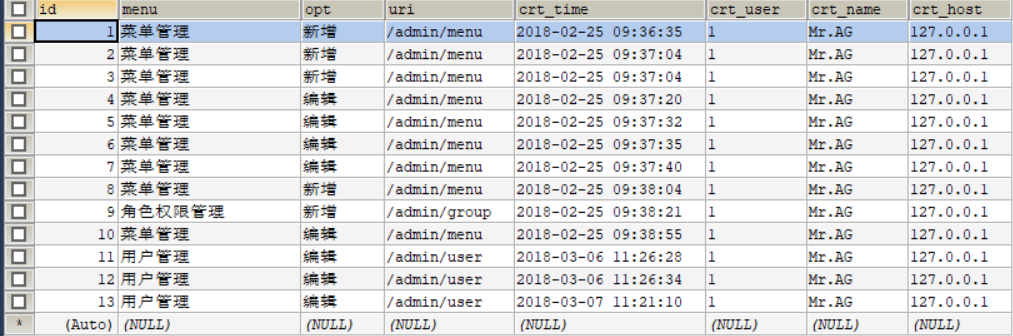
第四张,base_menu定义了菜单👇
第五张,记录了网关日志相关信息
第六张,用户表
业务逻辑
接口这部分作者写的有些乱,将很多业务逻辑的有关代码放到接口层了(吐槽)。这部分代码没什么好说的,就是根据上面的数据库CRUD。接口的路径分为
1 | /api/user/validate |
这几类,并且走每一层都会走鉴权中心来鉴别,具体逻辑是使用springboot的addInterceptors()方法添加两层拦截器组成一个拦截器链,如下👇
1 |
|
第一层拦截器是鉴权中心的ServiceAuthRestInterceptor拦截器,判断访问的客户端是否有权限访问;
1 | //第一层拦截器 |
第二层拦截器是鉴权中心的UserAuthRestInterceptor拦截器,拦截非法用户。
1 |
|
缓存中心
在上面的admin模块中,作者在user接口上,使用了自定义的缓存注解@Cache,用来保存用户的权限信息,减小数据库的访问压力👇
1 |
|
下面我们就分析一下缓存中心的设计。
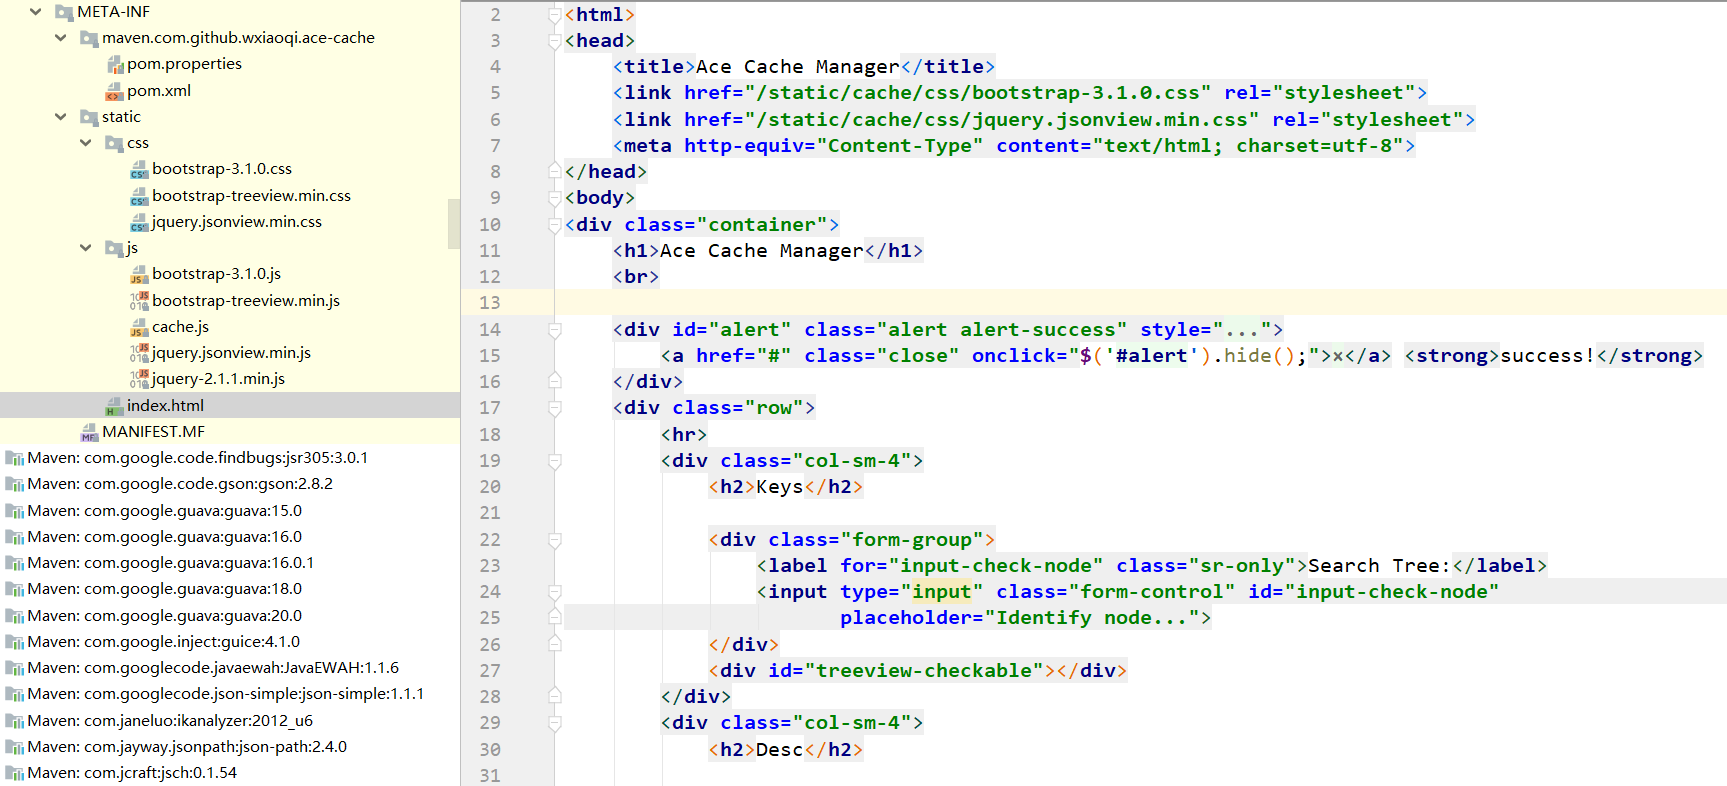
目录结构
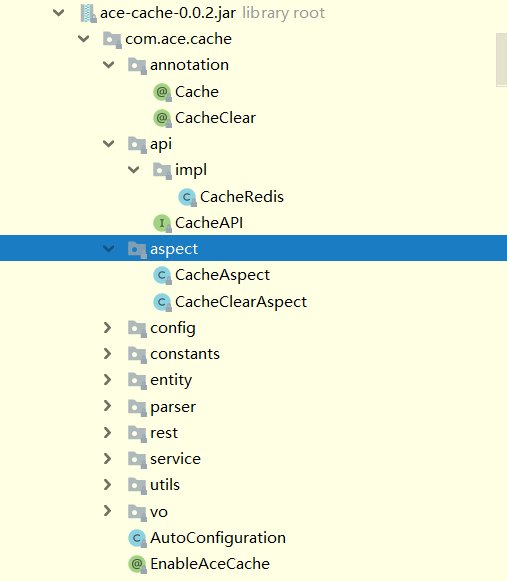
缓存中心是作者通过maven方式添加的,并没有通过直接项目代码展现。因此我使用idea的反编码工具进行分析
入口
入口为EnableAceCache,开启这个就可以自动配置缓存相关事项
缓存实体
先看缓存实体,作者定义了key,描述信息desc,以及过期时间
1 | public class CacheBean { |
配置类
一共有两个配置
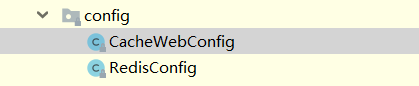
RedisConfig
先看RedisConfig,使用@PostConstruct注解,意思是会在服务器加载Servlet的时候,将服务端yml中有关redis的配置加载到JedisPool中,这个方法只会被服务器调用一次。
1 |
|
CacheWebConfig
第二个配置,就是使用springboot拦截器,将作者自己写的缓存管理中心视图界面展示出来(这个操作太神奇了,第一次看到)👇
1 | public void addResourceHandlers(ResourceHandlerRegistry registry) { |
使用缓存
RedisServiceImpl和CacheRedis
RedisServiceImpl使用了JedisPool那几个方法实现了增删改查操作,代码省略。
CacheRedis则RedisServiceImpl是加入一些增删改查逻辑,譬如什么是什么设置缓存。
切面加入缓存
核心方法
核心方法interceptor如下,使用ProceedingJoinPoint拿到被@Cache标记的的方法中的参数,用getKey()方法拿到具体缓存的key,使用CacheRedis的get()方法查找对应的key,如果key找不到则用CacheRedis的set()方法添加新的缓存。
1 | ("aspect()&&@annotation(anno)") |
取得key
getKey()方法的逻辑为,判断key生成器是否是默认生成器(可以使用多种生成器),然后根据默认生成器的规则生成一个key。
1 | private String getKey(Cache anno, Class<?>[] parameterTypes, Object[] arguments) throws InstantiationException, IllegalAccessException { |
key生成器
默认key生成器的代码如下(生成规则我看不懂😭),
1 | public String buildKey(String key, CacheScope scope, Class<?>[] parameterTypes, Object[] arguments) { |
key解析
因为作者的key生成器抖了很多机灵,因此,拿到key以后,要将生成key和value之前的数值找到才能进行比对,下面时解析key的代码👇大概逻辑是根据不同的value类型返回json
1 | public Object parse(String value, Type type, Class... origins) { |
切面清除缓存
大概意思和上面差不多,只要服务端上加入@CacheClear注解就可以清除对应缓存。
1 | ("aspect()&&@annotation(anno)") |